Sunday 12 December 2010

Finalsssss


My final DPS for the fruit and vegetables.


Advert DPS.


Front and back cover.


Ingredients list.


Recipe cards.


Friday 10 December 2010

Card cutting...

When looking through some design mags at uni, I stumbled across an editorial piece which had embossed type into cardboard.  This reminded me of an idea that I had had earlier on in the project and I decided I would pursue this.  Sooooooooo... I decided to do my article on how people perceive healthy food as bland and boring.  I chose to represent this with cardboard :)


I discovered cutting out cardboard is A LOT more difficult than it looks (although my card was quite thick so I should have expected this) and I now have a whole new appreciation for all of those individuals who worked on college Final Show!!

I just hope after all of that effort, my DPS comes out well... :)


Thursday 25 November 2010

Final Prints!!!!!!!!!!


Woohoo.  Finally got the printing done.  After using up 3 out of 4 of my handmade paper sheets and it going wrong I wasnt very hopeful about the final one working BUT IT DID!!!! And I am very happy.  Pity the paint colour wasnt what I would have liked and the handmade paper was one of the sheets that I wasnt too keen on but still I have my print and it worked.


I tried to make the background look a bit more textured by scattering talc.  


I even tried printing on to a tshirt material just for the hell of it.  

Sunday 21 November 2010

5?


Packet 1


Packet 2


Packet 3


Packet 4


Packet 5


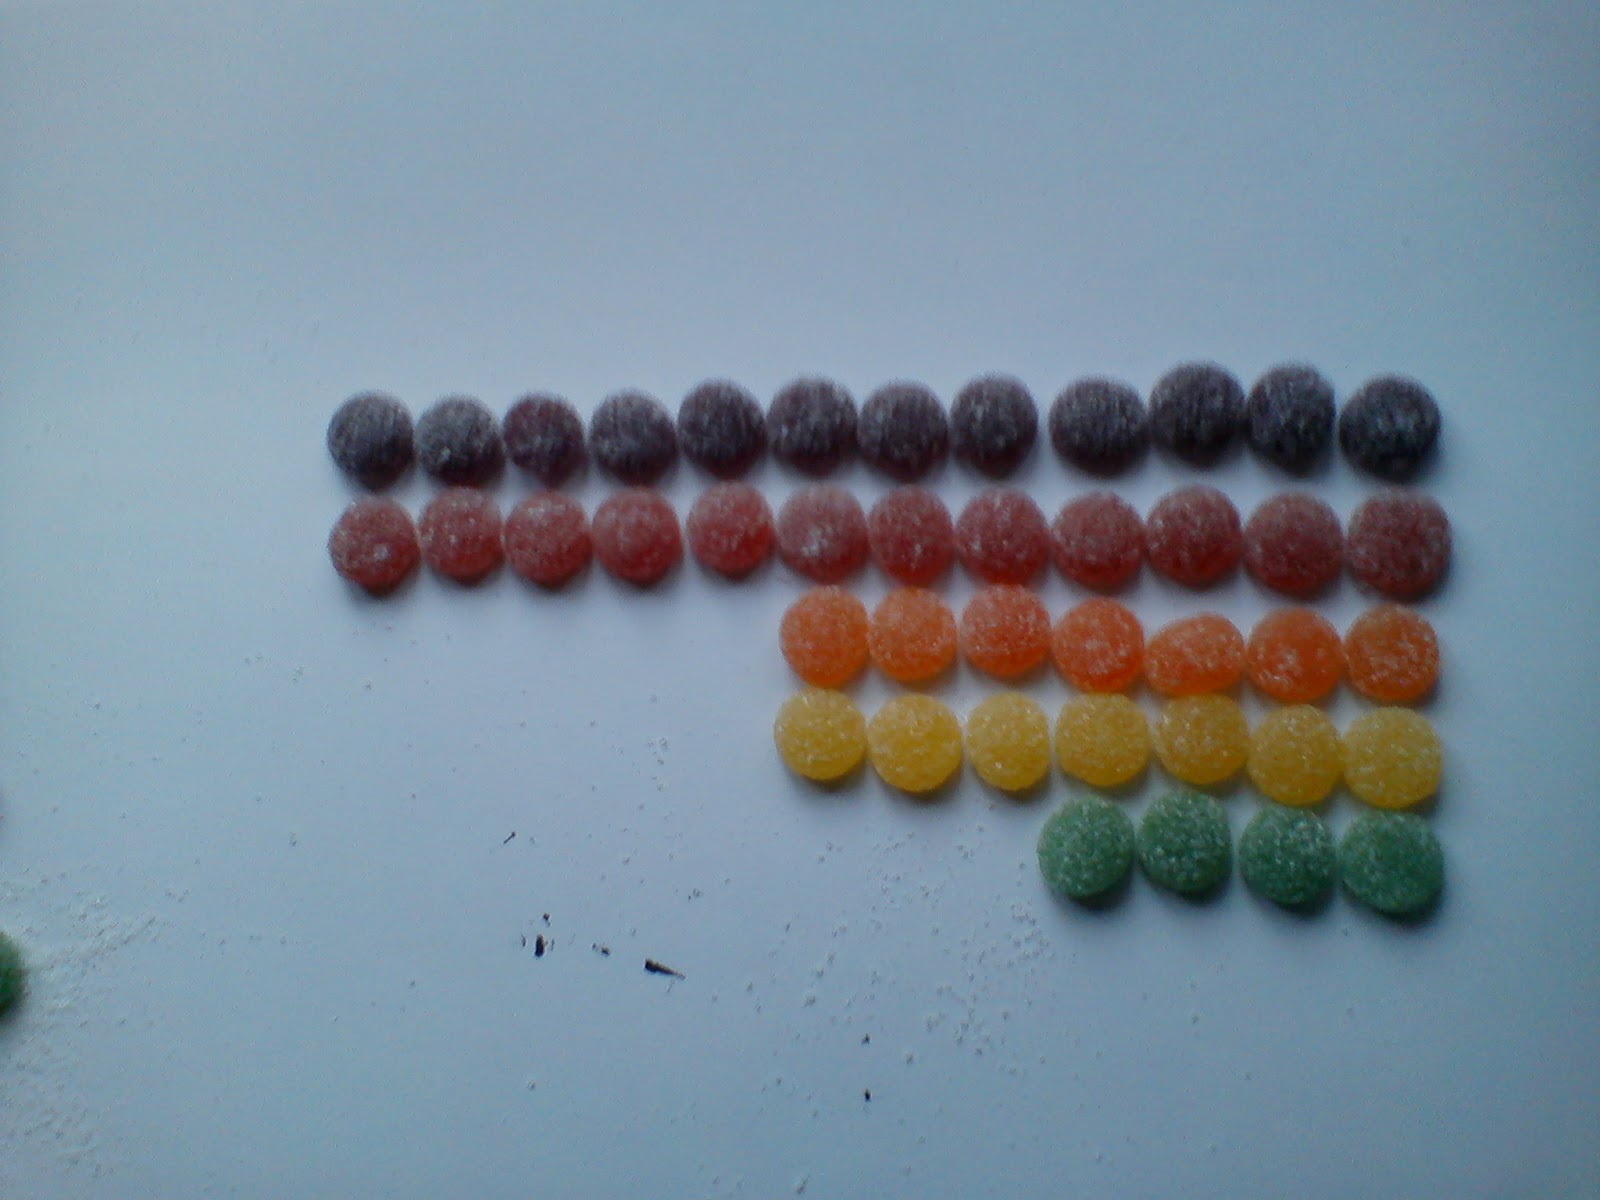
Preparing to melt them :)


In the oven :)


Burnt :(
Jelly Tots melted in a tray.  Unfortunately instead of melting together, they just burned =/ hmmmmm


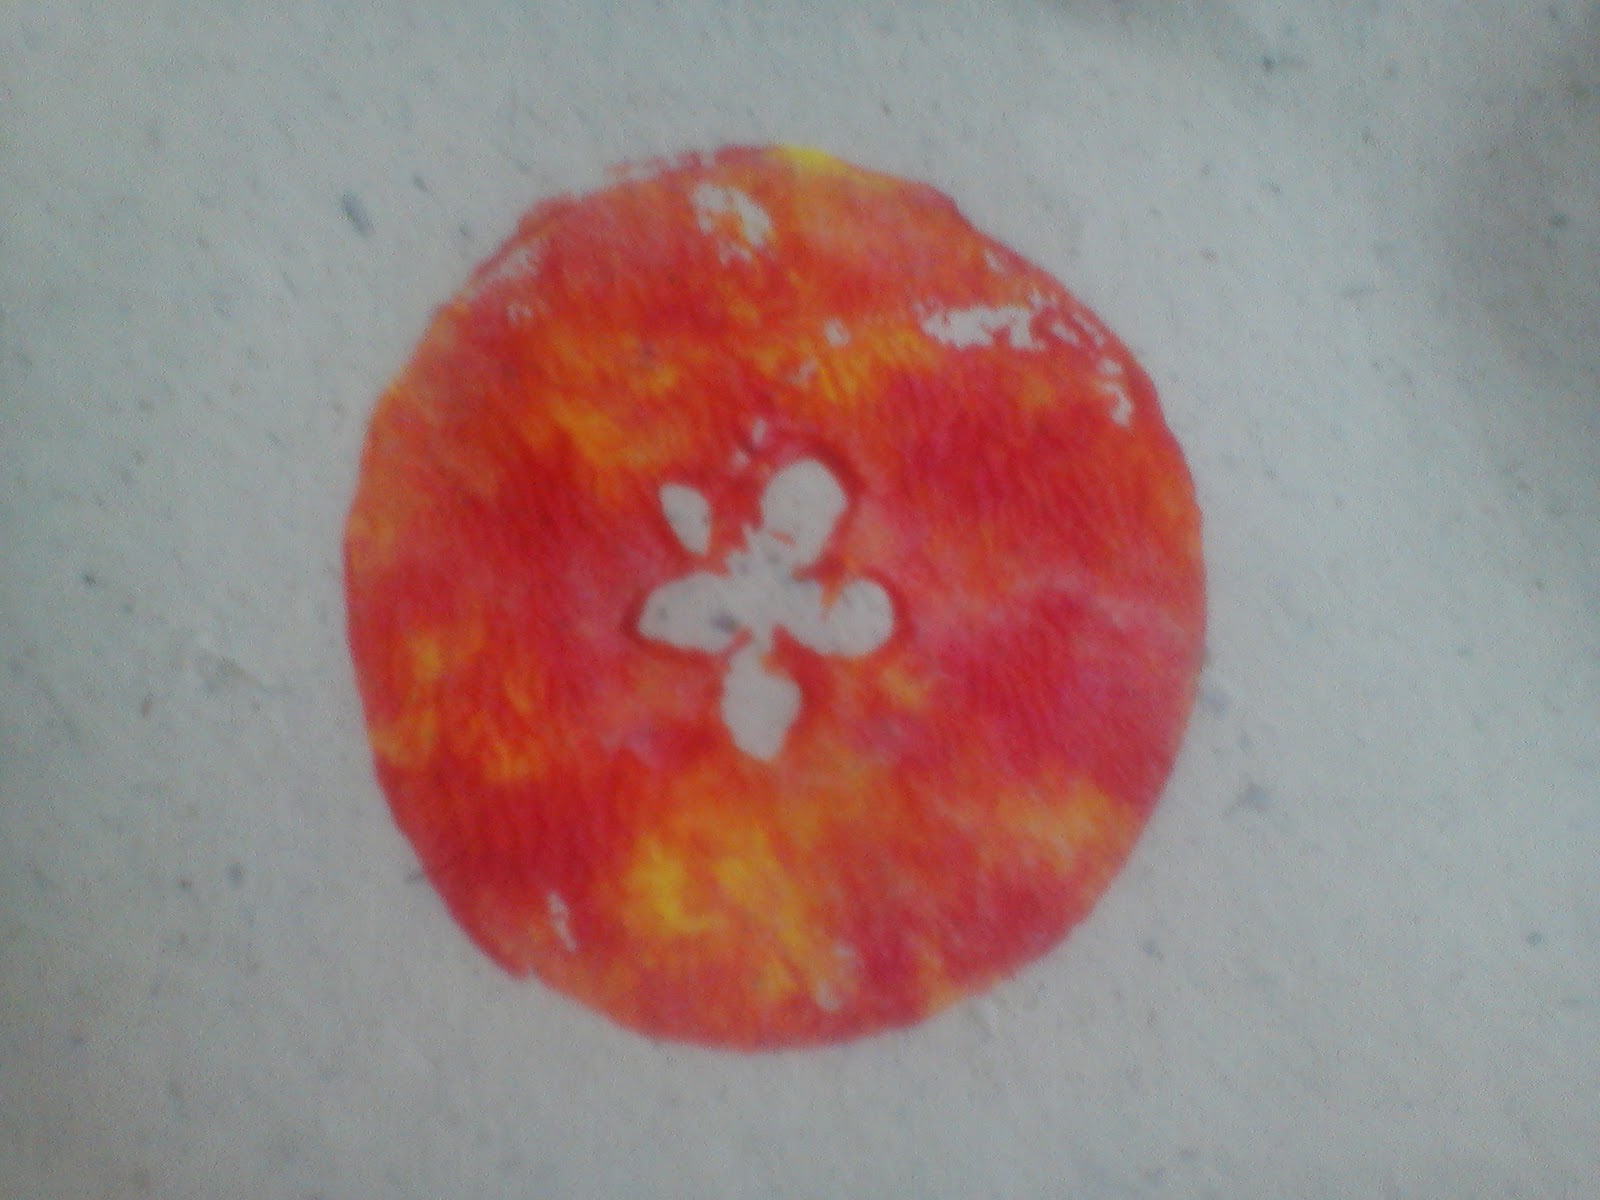
The 5 pointed shape in an apple cross section.


Apple print on handmade paper


Apple print on kitchen roll


5 point turn vector


5 point turn using a toy tractor in ink


...and again


Wednesday 17 November 2010

Screen Printing!!!!


Process of screen printing that we did today.  After painting our screens in light sensitive emulsion and letting them dry in a dark room, we took our acetates and put them onto the big light exposure box thing.  The screen is placed on top and the box machine is sealed.  The air is sucked out creating a vacuum and the machine is left to do its job.  When the screen is removed it needs to be washed off with water to remove some of the emulsion and reveal the art work.  Then its time to print!  Woo...

Monday 1 November 2010

One Day Project

Business card!!!

Compliments slip


Business card

Compliments slip


Sunday 24 October 2010

And throw in a bit of Picasso...

"Every child is an artist.  The challenge is to remain an artist after you grow up."  Pablo Picasso

Finished Buried Poster


Poster ready to be printed onto acetate.  I haven't decided exactly what material I want to print my design on to yet.  I liked the sandpaper but I cannot purchase any at the size I would need for an A3 poster.  So now I have to make a decision, hmm...


Saturday 16 October 2010

A happy accident? Or just a regular mistake...

Coming to the end of my experiments as I cannot actually think of anything more to do for the time being.  Trying at the minute to come up with the word Buried in white on a black background but the word should be rough and distorted.  


This was my first attempt.  The ink started to flow too much though and partially covered some of the characters making the word not all that legible.  

Time to move onto something else then...

Friday 15 October 2010

Screen Printing!!!! Awesome!


These are my very first attempts at screen printing.  
Above, I used a letter B stencil that I cut out and talc.  I was trying to see whether or not the talc would make the edges of the B look blurred/rough.  Don't think it quite turned out as I expected it to but it helped me to come to some decisions over my final piece and how I plan to execute it.


This piece involved more talc and some square hole punches.  I think its quite cool and (the top left) reminds me of a brain, so if I ever need such a texture, I now know how to achieve it.  I think my favourite texture has to be the smaller bits of talc on the right hand side.